Documentation
Beitlab Robotics documentation
Everything you need to build Balance Robot v1, bring up the Robotics Board and open your first session on the robot from your PC.
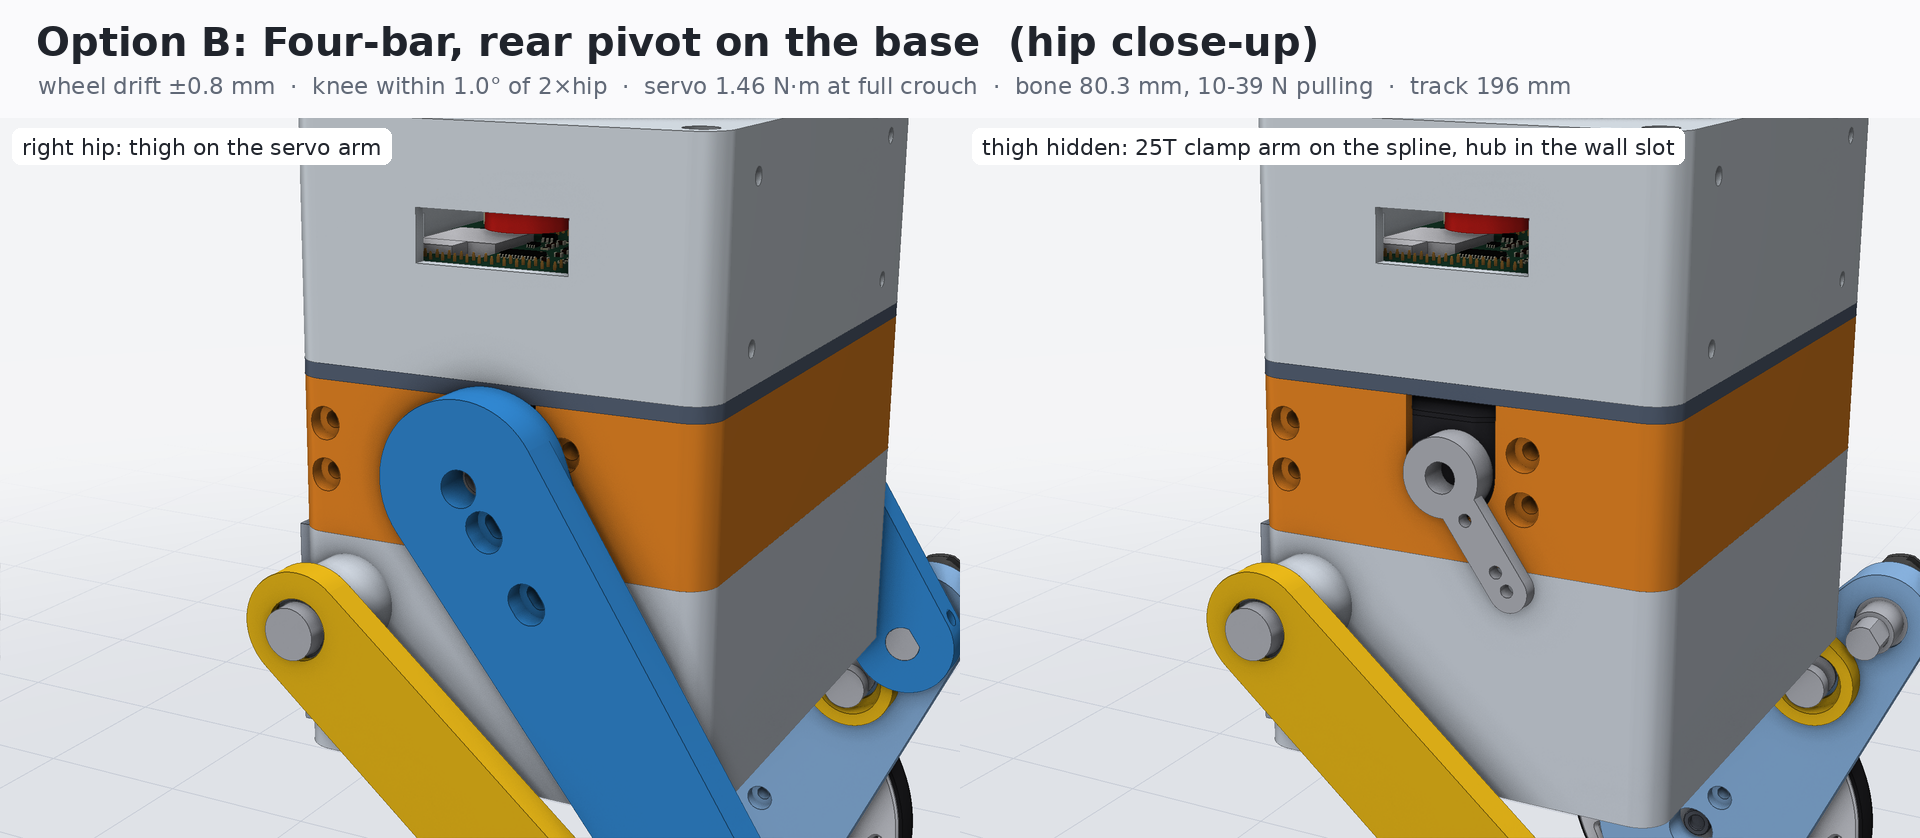
Balance Robot v1
The wheeled biped: layout, specifications, kinematics and the assembly guide.
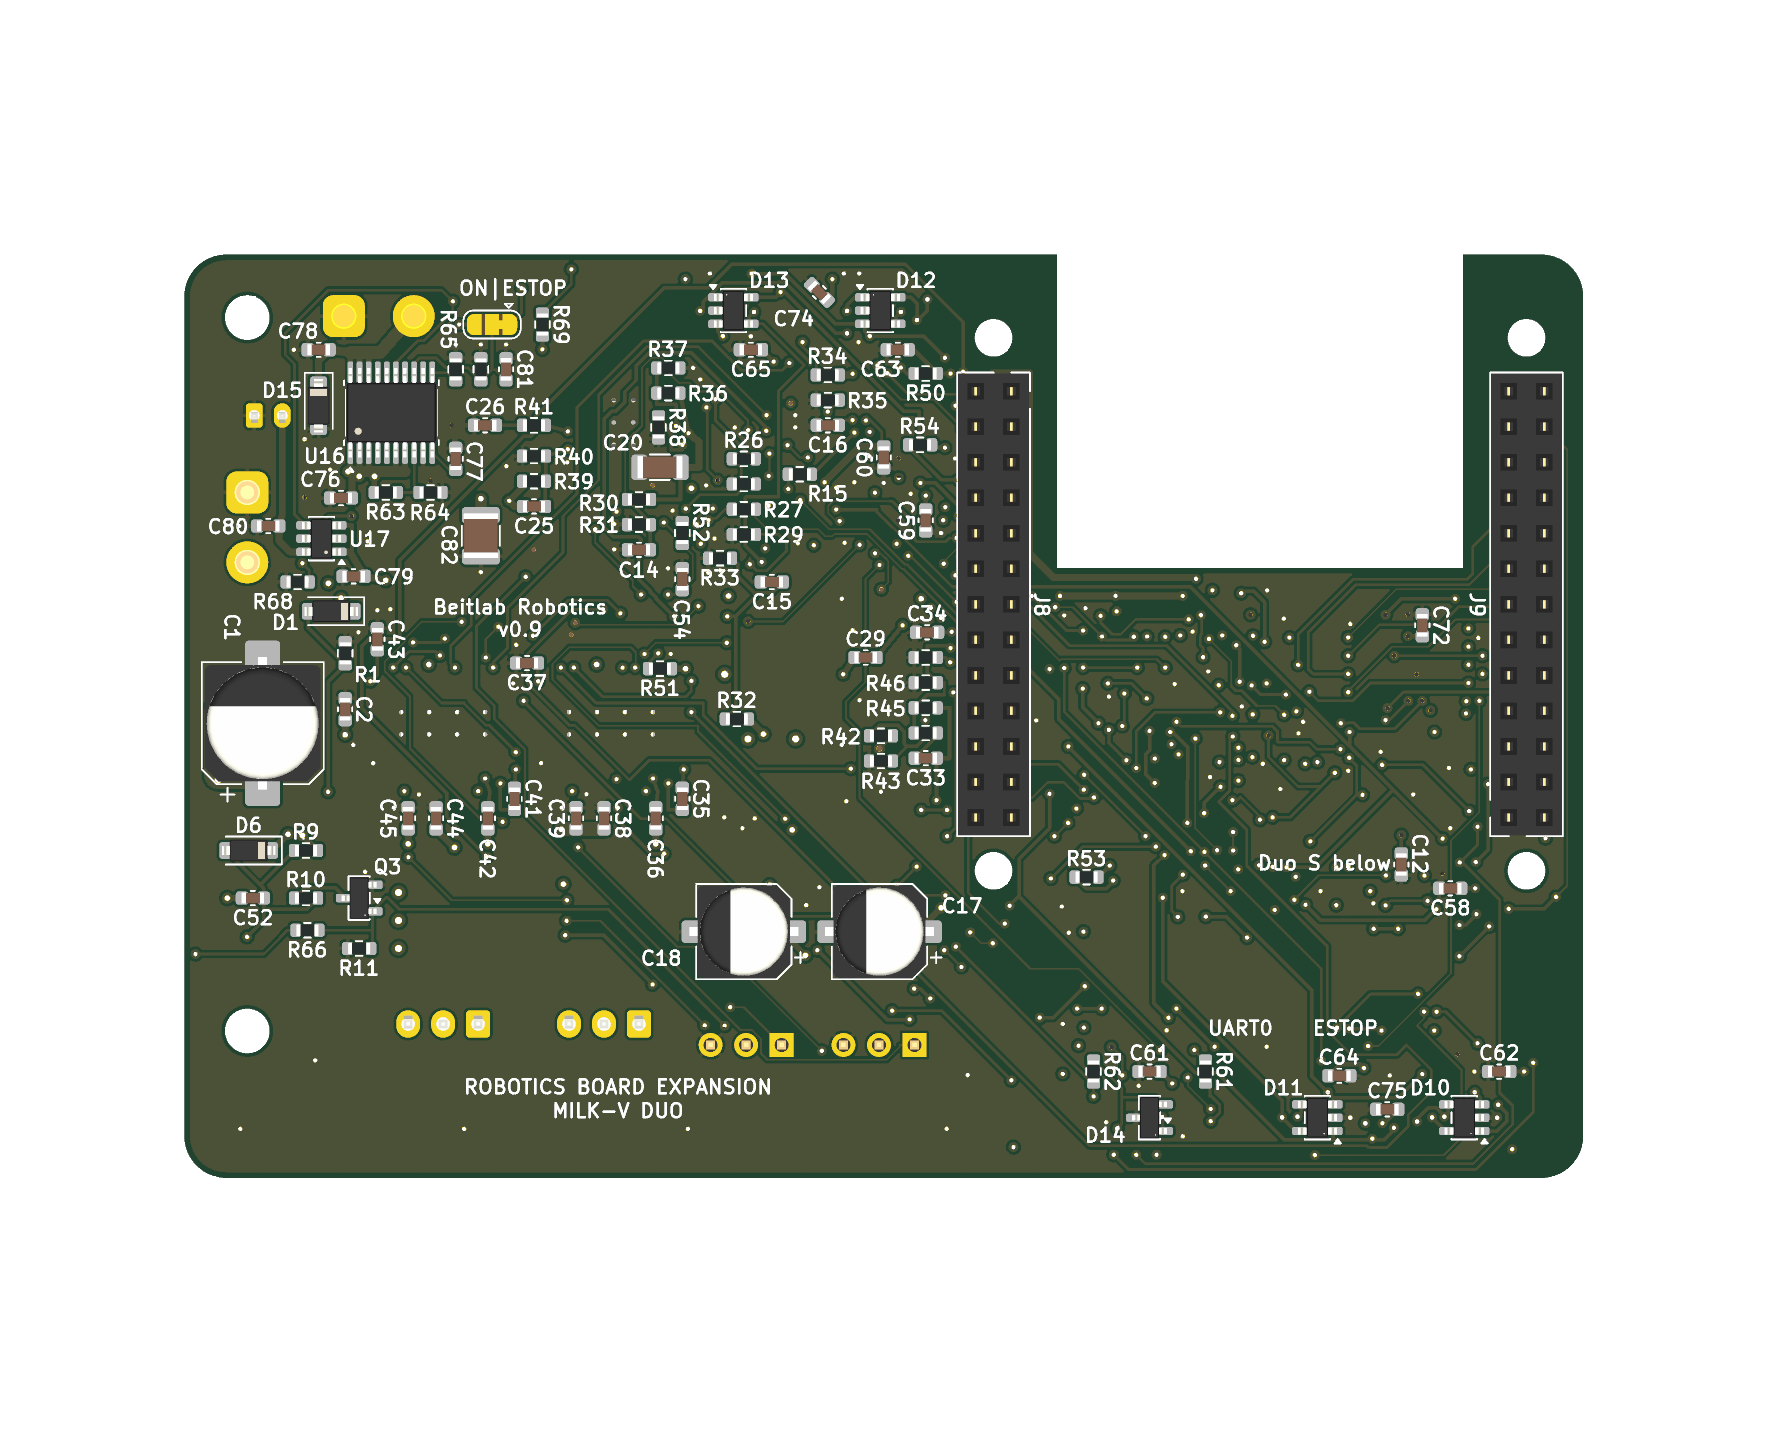
Robotics Board v0.8
The Milk-V Duo S carrier: connectors, power, safety chain and bring-up.
Recommended path
If this is your first robot from us, work through the guides in this order. Each one assumes the previous one passed.
- Connect the Duo S to your PCSet up the development computer, flash the Milk-V Duo S and log in over USB before it goes anywhere near the carrier. First steps →
- Bring up the Robotics BoardInspect the board, then power it on stage by stage on a current-limited supply: rails, safety chain, Duo S, sensors, one motor at a time. Bring-up →
- Assemble the robotPrint the parts, fit the servos and legs, mount the electronics and wire the harnesses. Assembly guide →
- Calibrate, then balanceCommission the motors and knees against their sensors, measure the mass properties and design the gains. The technical book covers commissioning and tuning in depth.
Project status
The board is fully routed and frozen (v0.8, 2026-11-11), and the robot body is designed and interference-checked in CAD. Neither has been built and tested yet. Values in these guides come from the design files. Where a measurement on your hardware disagrees, trust the measurement and tell us.
| Item | State | Notes |
|---|---|---|
| Robotics Board v0.8 | Frozen | 219 footprints, 0 DRC errors, 0 schematic mismatches. Bench qualification pending. |
| Balance Robot v1 body | Designed | Four-bar legs (option B). A few dimensions still to be measured on real parts before printing. |
| Control firmware core | Host-tested | Unit tests and closed-loop plant simulation pass. The SG2000 SDK glue is still to be written. |
| ROS 2 and simulation | Working in sim | URDF, RViz, mock ros2_control, Isaac Lab tasks, and policies exported to C. |
| ROS 2 bridge on hardware | Next | Needs the board-specific mailbox driver. |
Downloads
Schematic
The full schematic of the frozen v0.9 release.
PDF · 419 KB BoardSubsystems report
A page per subsystem: diagram, board map, derived values, layout checks.
PDF · 276 KB BoardCircuit drawings
Netlist-checked subsystem schematics.
PDF · 200 KB ReferenceEngineering a Wheeled Biped
The technical book: from first principles to commissioning, in 17 chapters.
HTML · 310 KBMore files (STEP and STL models) are on the board and robot pages.